
Stamps By Me different Colouring Techniques and 8 cards!
Hi,


Both were coloured with Altenew Artist Markers, I think all from Set A, but I didn't make note of which colours exactly, so I could be wrong 😬. Any alcohol markers would give the same affect, but I like the Altenew sets for florals because they come in groups of four colours that blend, so you don't have to guess which colours to put together- this is great if you are colouring at night, like I often do, you can just pick a set and know you won't regret your colour choices in the morning!

The sentiments are both from the same stamp set, they were added after I had coloured the images, and were stamped with onyx black Versafine. I find this the best ink for a nice solid sentiments, but can smudge when used with alcohol markers (you can use it if you leave it to dry overnight, and don't intend to colour over it, so it can be used for some outline images with success, but otherwise go for Memento or other ink that is alcohol marker safe.)


I used the coordinating die and mat layer die to die cut the coloured image and a gold mat, and stamped a sentiment from the stamp set in onyx black Versafine ink onto the same kraft card stock. Again, I used the die from the matching set to cut out the sentiment (this has a stitched detail on the edges, adding a gold mat cut on my trimmer underneath. Everything was added to a 6"x6" scalloped edge white card blank (an old one from my stash).


I used black paper from my stash for the mat layer, and again used the coordinating die set for the sentiment in the same card and paper. I added everything to a 5"x7" white card blank.


I have the coordinating die set, but I like the image as it was, so I trimmed it to be the same size as an A6 card blank, and stuck it without any mat or border.


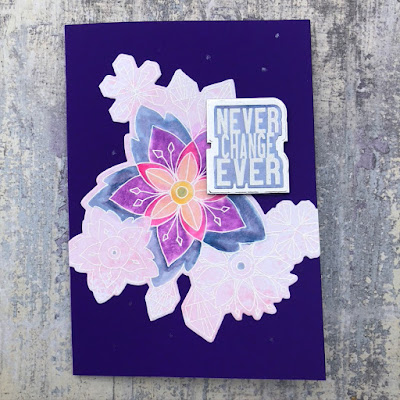
I added a bit more colour to just the central large flower (the 'spotlight' technique) using my Stationery Island brush pens, and brushed it out with a water brush. The card wasn't watercolour card, so it wasn't very even, so I went with a grungy style, and wasn't too careful to make it look perfect!

I added a little Spectrum Noir Sparkle overlay pen to the flower centres, and the background of the card in dots (mainly because I had a little bit dried out on my plastic palette that I wanted to use up!) I cut out the image with the coordinating die set and added a stamped and heat embossed sentiment that I coloured over using the same blue pen to make it coordinate, adding a mat in silver to allow it to stand out a little. I put everything on a purple card blank and trimmed the image where it overlapped the edges.

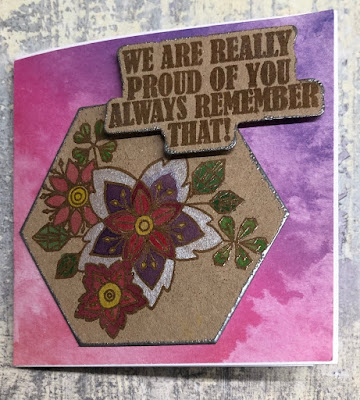
My last card today is a tiny 4"x4" card using the small image for the Never Change set. I had stamped this on a scrap of kraft card with Versamark and heat embossed it with Clear WOW embossing powder. I painted it with Gansai Tambei watercolour paint, and then cut it out with a hexagon die (the die set does not have a die for the small image). The scrap was so small that there is actually a piece of the hexagon missing under the sentiment, which was simply stamped in Versamark and heat embossed with the same clear embossing powder. I used the coordinating die set to cut it out.


For those who have been reading my blog recently, you might remember that I have been trying to use all my 'un-inked' stamps, because as we all know, buying and using craft supplies are two different hobbies right? 😂
Today I am sharing a bunch of cards using various Stamps By Me stamp sets, most of them have been Create and Craft members free gift stamps at some point, so I imagine a lot of people out there will have them. I think they are all still available either through Create and Craft or direct from Stamps By Me if you see something you really love.
I have been stamping in different mediums, and colouring in different techniques, often while watching a film in the evenings with the family, so no video to go with them, just a quick description of what I did for each and how it was coloured. Here's all the cards I am sharing today, if you would like to see more detail and which stamps they are, keep scrolling!


Stamps by Me - Made With Love
These cards are a simple single layer card, and the stamp is the perfect size to fill a UK A6 card size.

I stamped on Sheena Douglas 300gsm white smooth stamping card with black Memento ink.


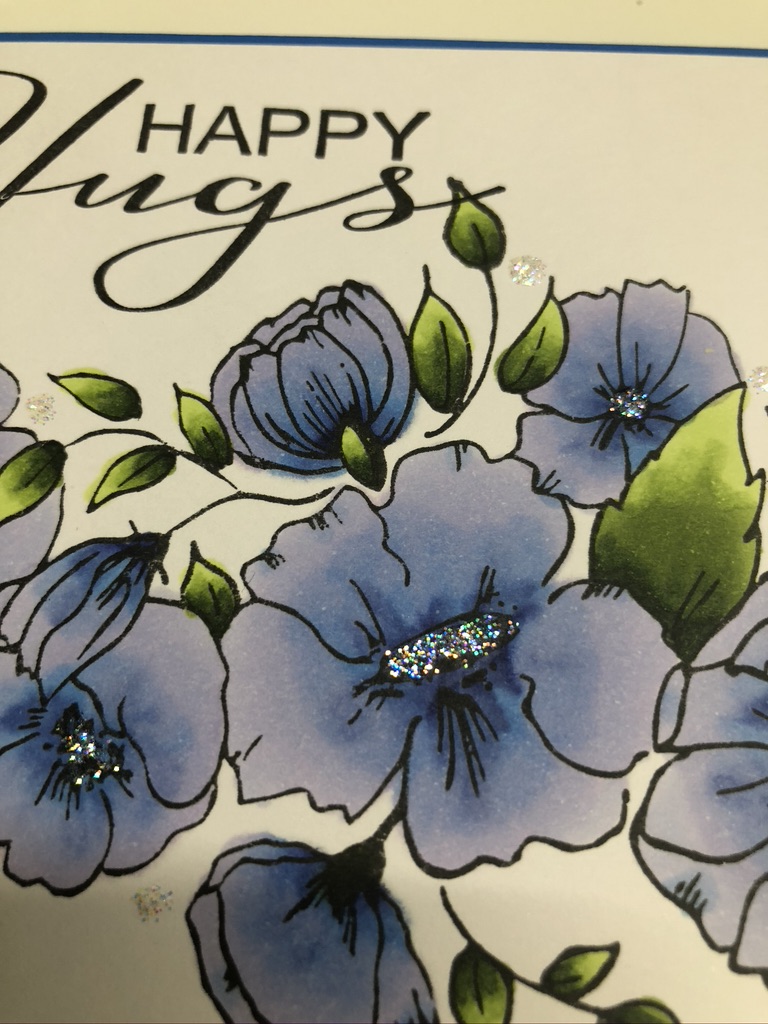
I added a little Stickles Stardust to the centre of each flower, and some touches in the background. It adds a tiny bit of sparkle without adding dimension.

The blue flowers were trimmed a little and added to a blue notecard (left over from my rainbow cards the other day, check my blog archive to see those), and the pink flowers were added to a white notecard, both are UK A6 sized cards.
Stamps by Me - Sharing is Caring
This card was a bit of an experiment, as I stamped with Memento black ink onto kraft card stock that was in my scraps box, rather than using white card. I think it is probably the kraft card from Creative Crafting World, as I do buy this card in large packs, but I have run out, so I am guessing that was what this piece was.

I coloured, again, with Altenew Artist Markers, I only used two colours for each blend on this card (2 greens, 2 pinks, 2 blues, 2 purples.) Simply using the lines on the stamp as a guide where to put the darker colour and then blending it out with the lighter colour.

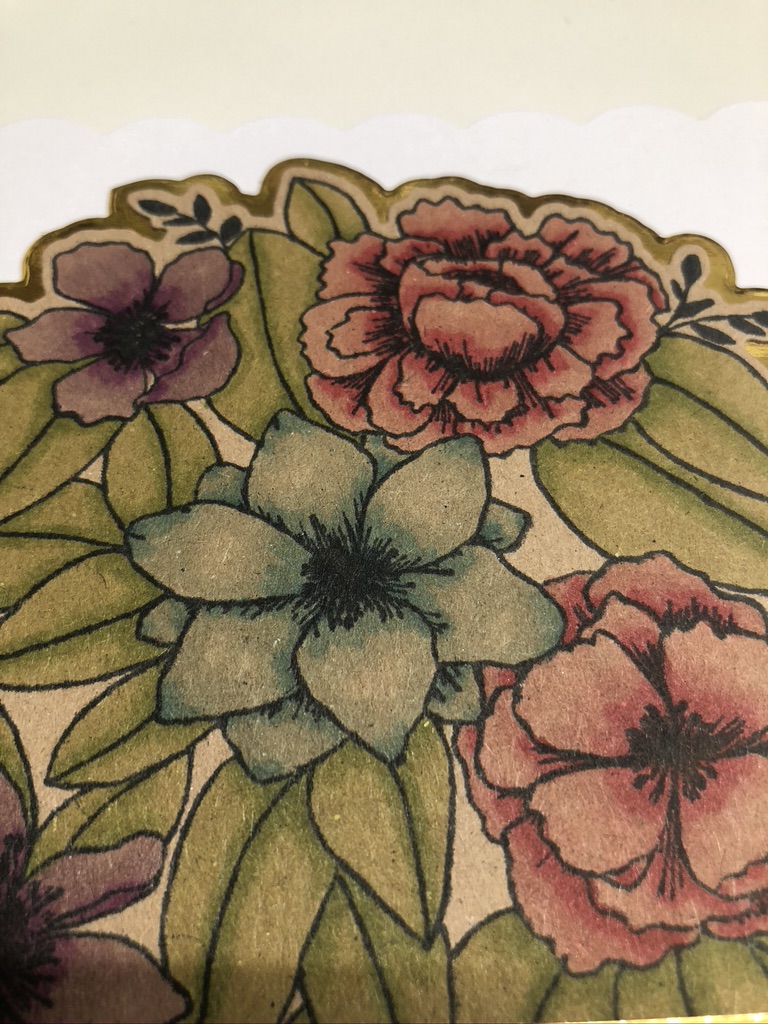
I loved how the colouring came out on the kraft card, and it looks like a lot more than two colours were used for each element! The colours I used were Altenew Artist Markers Set A: G715, G702 (leaves), R319, R302 (pink flowers), B201, B313 (blue flower) and Set B: R702, R705 (purple flowers).
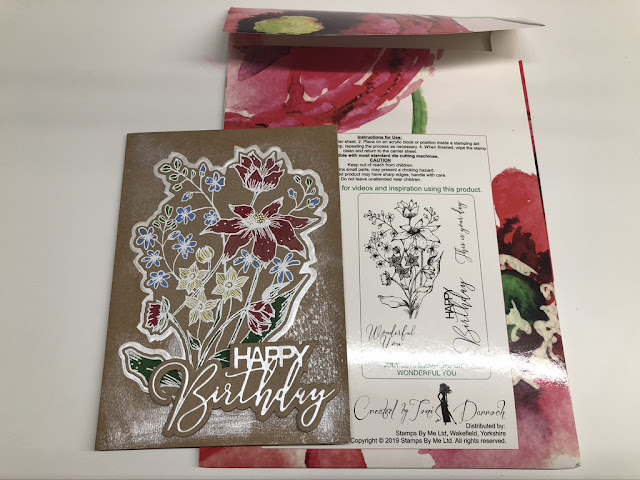
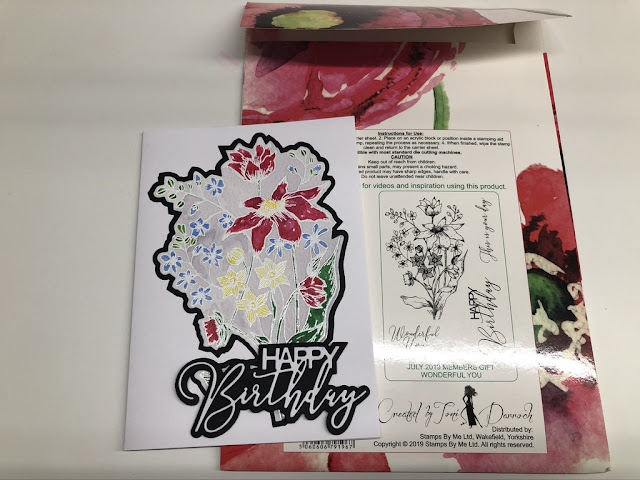
Stamps by Me - Wonderful You
For these two cards, I stamped with Versamark ink, added WOW white embossing powder and heat set them. One was on kraft card and the other was on Lime Tree Crafts 300gsm Watercolour Card in Coconut Crush.

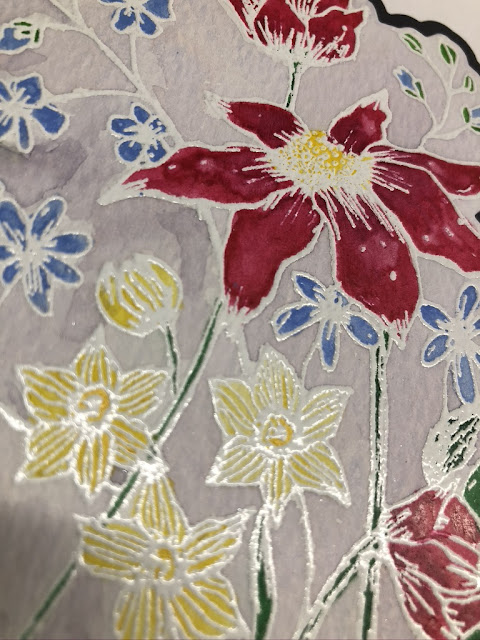
Both were painted using Gansai Tambei watercolour paints, in the same colours.

The Gansai Tambei work well on kraft card as they are nice and creamy if you don't add so much water and have enough pigment to be opaque on darker card stocks if you want them to be.

I used the coordinating die set to cut my coloured image out, and the mat layer on the kraft card is some pearl paper that has been lurking in my stash for years as it is very thin. I used the same card and paper for the sentiment which is also from the coordinating die set. I added the images to a 5"x7" kraft card blank, that I first misted with water and added some Ranger Perfect Pearl powder to. It was my first time using using perfect pearl, and I still need to perfect how I apply it I think, but it looked fine under my image for a bit of subtle shimmer to tie the topper and card together.

After I had painted the image on the watercolour card, the outline got completely lost as it was white on white. I decided to die cut it, and then used a Stationery Island brush pen in light grey to paint in the background. This is a little time consuming, I scribbled onto a plastic palette, picked it up with a water brush, and shaded around the whole image but it did 'save' the image I had stamped and painted already!

Stamps by Me - Shine Bright
This card was stamped on Lime Tree Crafts 300gsm Watercolour Card in Coconut Crush using Versamark ink and heat embossed with WOW white embossing powder.

I used Stationery Island brush pens with a water brush to colour the whole image and and background, allowing the white outline to pop. I applied the colour directly to the image from the pen and then brushed it out with the water brush. I got the Stationery Island brush pens from Amazon, but I assume they are similar to the Zig water colour brush pens.
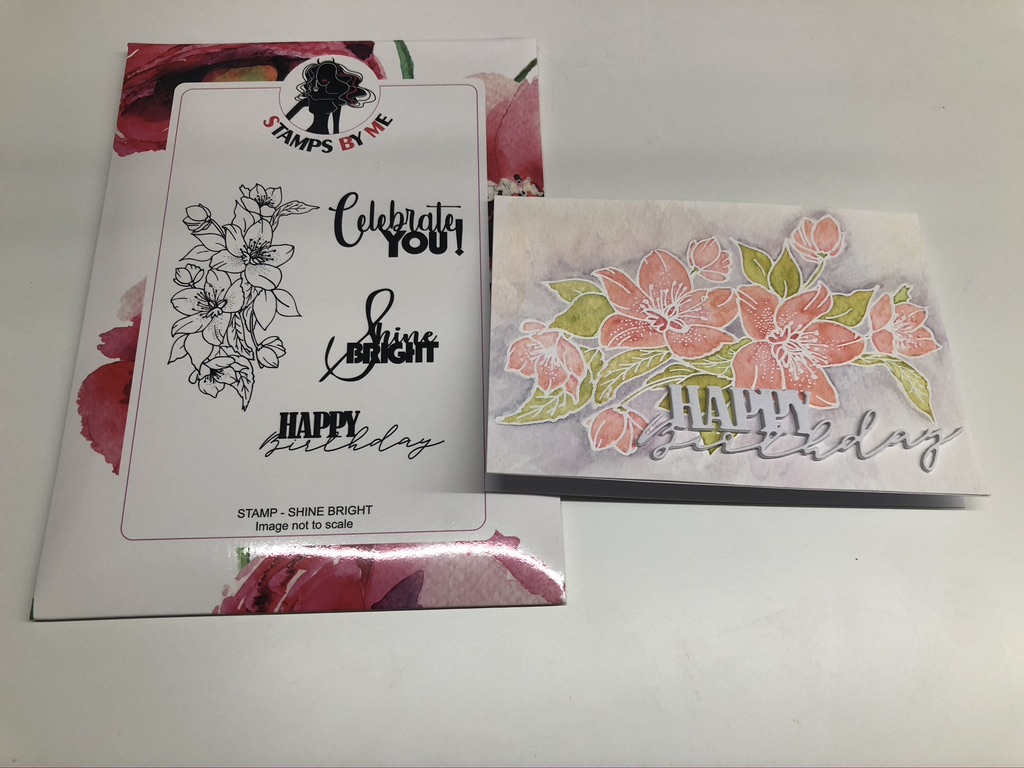

I used the coordinating die to cut the sentiment from a scrap of white AC Card Stock (American Crafts). It has a slight texture to it, and it cuts nicely on electronic cutting machines, which is what I use AC Card Stock for mainly, but I do tend to end up with odd shaped scraps that I keep for small sentiments! To make the sentiment raised, I cut it out of white craft foam, keeping it in the negative space to hold its shape, glued the card die cut on top before popping it out of the negative foam piece and gluing it to my card.
Stamps by Me - Never Change
This pair of cards used up some random scraps from my 'bits' box! The first is an A6 card, using another leftover card blank I created for my rainbow cards, and the second card is a tiny 4"x4" card using the small image from the stamp set.


I had a piece of white card that I had 'smooshed' some left pink over ink onto some time ago. I wasn't sure what ink it was, nor what card stock it was, but I decided to stamp over it with Versamark, adding white WOW heat embossing powder to see what happened.


My card was so small that I couldn't really fit a mat below my image or sentiment, but I wanted to add something, so I rubbed Versamark around the edges and dipped it into silver embossing powder that has been in my stash for years. This helped the silver watercolour on the image to pop I think. The background on the card is from a 10cmx10cm Craft Sensations paper pad called Bright Watercolours (The Range in the UK stock this brand). This size mats nicely with a tiny border, without trimming, on to a 4"x4" card, and I have used them for quick 'Thank you' card makes for my kids after birthday parties when you need to make a lot of little cards!
I ended up loving this tiny card, and I am going to save it for when my eldest daughter finally gets to go back to her boarding school after the pandemic - it will be a nice piece of snail mail for her to get as a little surprise.
So that's it for today, 8 cards from 5 different Stamps By Me stamp sets with different colouring techniques. Stay safe and I hope you will visit my blog again soon,
Lesley x
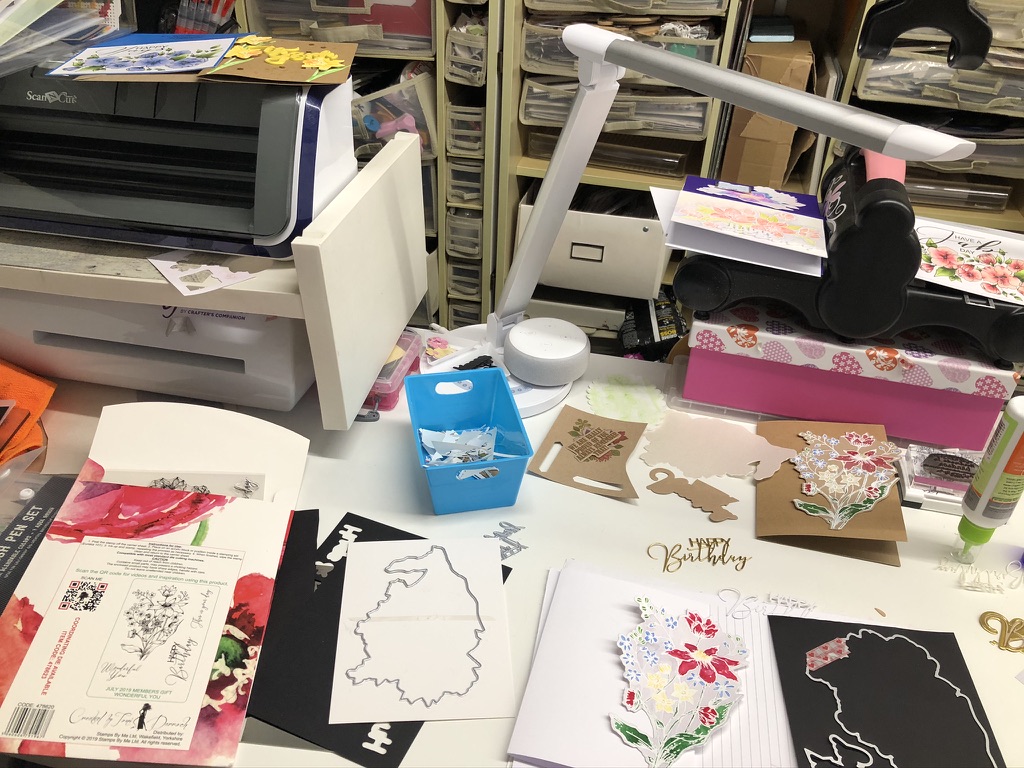
Bonus photos today.... my messy desk while I was assembling all these cards!


I really enjoyed seeing and reading about your progress, with using your un-inked stamps. These cards look fab!! I have unused supplies too, so your post is very inspirational. 😀
ReplyDeleteThank you for taking the time to comment, I never know if people just have a quick look at the photos, or if anyone actually reads anything I write! So glad it might have inspired you to use some of those un-used supplies!
Delete